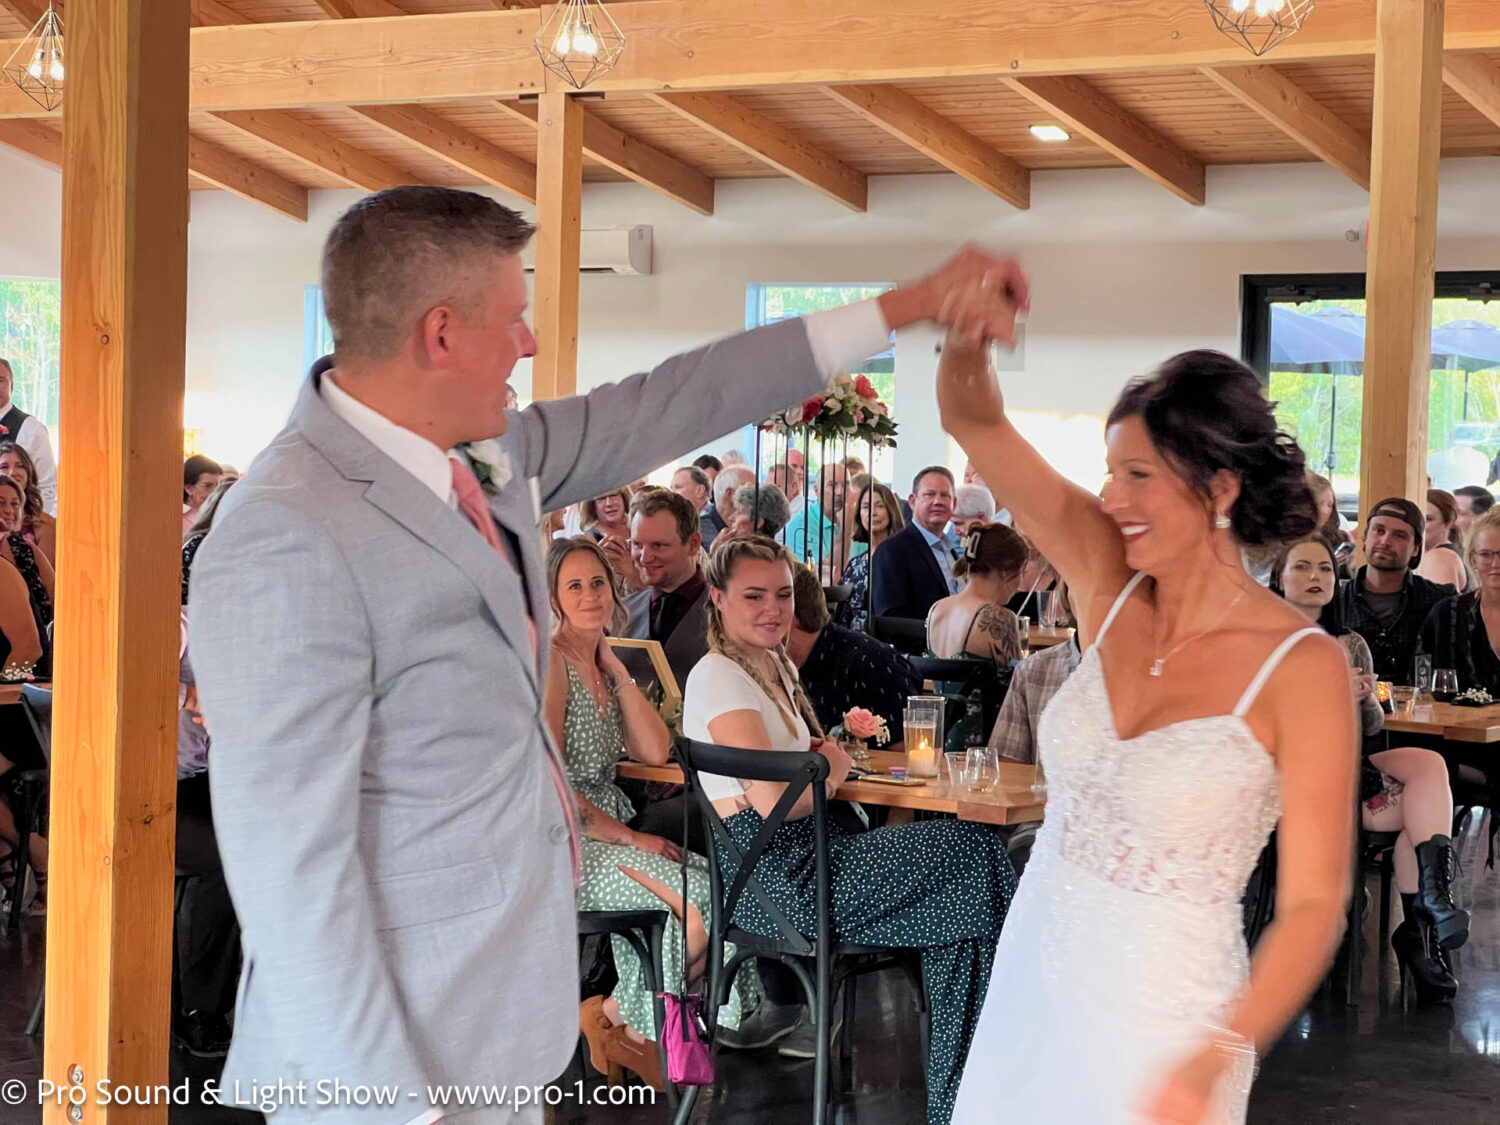
Congratulations! You’re Engaged—Now What?
First of all, take a deep breath and soak in the excitement. Getting engaged is one of the most thrilling milestones in life, and this moment deserves to be celebrated. Whether you’ve been dreaming about your wedding day for years or just started thinking about it, the question of “Where do I even begin?” can feel overwhelming.
The good news? You’re not alone! Many couples feel this way when they first dive into wedding planning, but with a little guidance, you’ll have a clear roadmap to follow. From choosing a date to building your dream team of vendors, we’re here to simplify the process and make it fun.
This guide will take you step by step through everything you need to know to start your wedding planning journey, so you can stay organized, enjoy the process, and create the unforgettable day you’ve always imagined. Let’s get started!
Step 1: Envision Your Dream Wedding
Before diving into logistics, take some time with your partner to dream about your big day. This is your chance to picture what your wedding will look and feel like—without the pressure of making decisions just yet.
Start with These Key Questions:
- What kind of vibe do you want? Is it formal and elegant, relaxed and rustic, or modern and minimalist?
- Where do you imagine saying “I do”? Indoors or outdoors? A local venue, your hometown church, or a dreamy destination?
- What time of year feels most special to you? Are you drawn to a spring garden wedding, a cozy winter celebration, or a fall event with colorful foliage?
- How many guests would make your day feel perfect? An intimate gathering of close family and friends or a grand celebration?
Get Inspired
- Create a Mood Board: Use Pinterest, Instagram, or even magazines to collect images, color palettes, and styles that resonate with you.
- Talk About Priorities: Discuss what’s most important to each of you—whether it’s having incredible food, a killer dance floor, or the perfect backdrop for photos.
Pro Tip: Write It Down
Put your shared vision on paper. Having this foundation will make every planning decision easier—from choosing a venue to selecting decor. Plus, it’s a fun way to start this journey together!
By envisioning your dream wedding first, you’re creating a blueprint for the day that’s uniquely you. Once you’ve got the big picture in mind, you’re ready to start turning your vision into reality. On to Step 2!
Step 2: Create Your Wedding Budget
Before you book venues, shop for the dress, or get lost in Pinterest boards, it’s time to talk numbers. Setting a budget is one of the most important steps in wedding planning—it lays the foundation for everything else.
Why Budgeting Matters
Your budget determines the scale, style, and scope of your wedding. Without it, costs can quickly spiral out of control. Don’t worry; this isn’t about limiting your dreams—it’s about prioritizing what’s most important to you.
How to Build Your Wedding Budget
- Start With Your Total Amount:
- How much are you and your partner willing to spend?
- Are family members contributing? If so, how much?
- Break It Down:
- Allocate percentages to major categories like the venue (40%), catering (20%), and photography (10%). Adjust these based on your priorities.
- Research Costs in Your Area:
- Look up average costs for venues and vendors in your location to get a realistic idea.
- Set Aside a Contingency Fund:
- Reserve 5-10% of your budget for unexpected expenses (because surprises will happen).
What to Prioritize
- Must-Haves: Identify the top 2-3 things that matter most to you. This could be an amazing venue, a live band, or professional photography.
- Save Where You Can: Consider DIY options for decor, digital invitations, or hosting your wedding on a less expensive day like a Friday or Sunday.
Pro Tip: Use Budgeting Tools
There are plenty of wedding budget calculators and apps to keep you organized. Look for tools that allow you to track spending and compare costs as you go.
Creating a budget might feel like the least glamorous part of wedding planning, but it’s the key to making your dream wedding a reality—without unnecessary stress. Now that you’ve set financial boundaries, it’s time to move on to Step 3: building your guest list!
Step 3: Build Your Guest List
Your guest list is more than just names on paper—it’s a major factor that impacts your budget, venue choice, and overall wedding vibe. Whether you’re planning an intimate gathering or a grand celebration, this is the time to decide who you want by your side on your special day.
Start with the Basics
- Brainstorm Together:
- Begin with immediate family, close friends, and anyone who feels essential to your celebration.
- Estimate a Headcount:
- This doesn’t have to be exact but aim for a rough number to guide venue and catering decisions.
The Guest List Breakdown
- Priority Guests: Family, best friends, and those who must be there.
- Secondary Guests: Extended family, coworkers, or old friends you’d like to include if space allows.
- Plus-Ones: Decide whether you’ll allow guests to bring a date, and if so, for whom.
Key Considerations
- Venue Capacity: Your guest list should align with the maximum capacity of your venue.
- Budget Impact: More guests mean higher costs for catering, seating, and favors.
- Group Dynamics: Think about how well your guests will mix and mingle.
Tips for Trimming Your List (If Needed)
- Set rules like “no coworkers” or “no plus-ones for unmarried guests.”
- Stick to your original vision—if someone doesn’t fit the vibe or you haven’t spoken to them in years, it’s okay to leave them off.
Pro Tip: Use a Spreadsheet or App
Create a digital guest list where you can organize names, track RSVPs, and note any special requirements (e.g., dietary restrictions).
Your guest list might evolve as your planning progresses, and that’s perfectly fine. For now, focus on creating a list that feels right for you and your partner. With a rough headcount in place, it’s time to move on to Step 4: choosing your wedding date!
Step 4: Choose Your Wedding Date
Your wedding date is more than just a calendar entry—it’s the anchor for all your planning. Picking the perfect date sets the tone for your wedding and helps you start booking venues and vendors. Here’s how to decide on a date that works for you.
How to Pick the Right Wedding Date
Consider the Season:
- Spring: Blooming flowers and mild weather.
- Summer: Long days and outdoor celebrations.
- Fall: Vibrant foliage and cozy vibes.
- Winter: Romantic, snow-kissed weddings with seasonal charm.
Check Your Venue Availability:
- Popular venues book up fast, especially on Saturdays. Be flexible with dates if you have your heart set on a particular location.
Think About Personal Meaning:
- Is there a date that’s special to you as a couple? An anniversary or a family tradition can make your wedding even more meaningful.
Factor in Your Timeline:
- Allow enough time for planning—typically 12-18 months is ideal, but shorter timelines can work with careful organization.
Consider Guest Availability:
- If key family members or friends are traveling, avoid dates that might conflict with holidays or peak vacation seasons.
Tips for Flexibility
- Have 2-3 date options in mind to accommodate venue or vendor availability.
- Look into off-peak dates (Fridays, Sundays, or weekdays) to save money and increase your chances of securing your dream vendors.
Pro Tip: Check Local Events and Holidays
Research your chosen location for potential conflicts like festivals, sporting events, or parades that could impact availability, costs, or traffic.
Once you’ve selected your date (or date range), you’re ready to move forward with the next big step: booking your venue! Let’s dive into Step 5.
Step 5: Book Your Venue
Your venue is the centerpiece of your wedding—it sets the tone, defines your style, and often determines your wedding date. Securing your dream venue is a big milestone in the planning process, so let’s tackle it step by step.
Why Booking Your Venue Comes First
- Sets the Date: Your venue’s availability will confirm your wedding day.
- Shapes the Style: The space you choose will influence decor, layout, and overall vibe.
- Determines Guest Count: Venues have capacity limits, so this decision ensures your guest list aligns with the space.
How to Find the Perfect Venue
Start With Your Vision:
- Do you picture a rustic barn, a grand ballroom, a scenic outdoor garden, or a modern industrial loft?
Set Your Budget:
- Know what you can afford to avoid falling in love with a space outside your price range.
- Ask about inclusions: Some venues provide tables, chairs, or even catering, which can save you money.
Research Options:
- Use local wedding directories, Instagram, and venue websites to explore possibilities.
- Read reviews to learn about other couples’ experiences.
Schedule Tours:
- Seeing the venue in person is crucial. Pay attention to details like lighting, layout, and accessibility for guests.
Questions to Ask During Venue Tours
- Availability: Is your preferred date available?
- Cost and Payment Terms: What’s the total cost, and are there additional fees (e.g., setup, cleanup)?
- What’s Included: Are tables, chairs, linens, or other amenities provided?
- Policies: Are there restrictions on decor, music volume, or vendors?
- Backup Plan: For outdoor venues, what’s the contingency plan for bad weather?
Pro Tips for Booking Your Venue
- Be Flexible: If your first-choice venue isn’t available on your preferred date, consider alternate dates or off-peak times.
- Act Quickly: Popular venues book up 12-18 months in advance, so don’t delay.
- Read the Contract Carefully: Ensure you understand all terms, including cancellation policies.
Lock It In and Celebrate
Once you’ve found the perfect venue and secured your date, give yourself a moment to celebrate—this is a huge step in your wedding planning journey!
With your venue booked, you’re ready to move on to the next exciting step: assembling your dream team of vendors in Step 6!
Step 6: Assemble Your Dream Team of Vendors
Your wedding vendors are the experts who will bring your vision to life. From capturing timeless memories to serving delicious food and creating a fun atmosphere, finding the right team is key to making your big day unforgettable.
Start with the Essentials
Some vendors book up quickly, so prioritize these early in your planning process:
- Venue: The venue sets the stage for your wedding and often includes options for other services like catering.
- Photographer/Videographer: Talented photographers are in high demand, so secure someone who matches your style.
- Entertainment: Whether it’s a DJ or live band, great music is the heartbeat of a memorable reception.
- Caterer: Food plays a huge role in your guests’ experience, so explore options that align with your taste and budget.
How to Choose the Right Vendors
Do Your Research:
- Read reviews, browse portfolios, and ask for recommendations from friends or other trusted sources.
Schedule Consultations:
- Meet with vendors to ensure they understand your vision and have a good working style.
Ask the Right Questions:
- What’s included in your packages?
- How do you handle unexpected situations (e.g., bad weather or illness)?
- Do you have experience with weddings similar to mine?
Check Availability:
- Ensure they’re available on your wedding date and can accommodate your venue requirements.
Don’t Forget About These Vendors
- Florist: From bouquets to centerpieces, flowers can transform your space.
- Planner/Coordinator: Whether it’s full-service planning or day-of coordination, a pro can ease your stress.
- Officiant: If you don’t already have someone in mind, book an officiant who resonates with your style and beliefs.
Pro Tip: Stay Organized
Use a wedding planning app or spreadsheet to track vendor details, costs, and deadlines. Having all your information in one place will make communication and decisions easier as you move forward.
By assembling your dream team early, you’ll set the stage for a seamless and joyful wedding day. Next up, it’s time to decide on the style and theme for your celebration—let’s move to Step 7!
Step 7: Decide on Your Wedding Style
Your wedding style is the personality of your big day—it’s how you bring your vision to life and make the celebration uniquely you. From colors and decor to the overall vibe, this step is where you get creative and set the tone for everything to come.
Start With Inspiration
- Look Around You: What styles or themes resonate with you in everyday life? Are you drawn to clean, modern lines, vintage charm, or bohemian flair?
- Explore Inspiration Sources:
- Pinterest boards.
- Instagram hashtags (e.g., #RusticWedding, #ModernWedding).
- Wedding blogs and magazines.
- Your venue! A venue’s architecture and surroundings can inspire your style.
Choose a Theme or Style
Here are some popular wedding styles to consider:
- Rustic Charm: Wooden accents, fairy lights, and wildflower bouquets.
- Elegant and Formal: Black tie, crystal chandeliers, and classic florals.
- Modern Minimalism: Clean lines, monochrome palettes, and sleek decor.
- Boho Chic: Dreamcatchers, pampas grass, and earthy tones.
- Romantic Whimsy: Soft pastels, candles, and lush floral arrangements.
Pick Your Color Palette
- Choose 3-5 colors that complement each other and fit your theme.
- Consider the season:
- Spring: Blush, mint, and lavender.
- Summer: Bright coral, turquoise, and gold.
- Fall: Deep burgundy, burnt orange, and forest green.
- Winter: Navy, silver, and rich jewel tones.
Tie It All Together
- Decor: From table settings to centerpieces, align your decor with your theme and colors.
- Dress Code: Choose attire that reflects the formality and style of your wedding.
- Stationery: Invitations and save-the-dates are an opportunity to introduce your theme.
Pro Tips for Staying True to Your Style
- Limit Overwhelm: It’s easy to fall in love with a million ideas. Stay focused on what feels most authentic to you and your partner.
- Keep It Consistent: Use your theme and colors as a guide for every decision, from floral arrangements to signage.
- DIY vs. Pro Help: Decide if you want to DIY some elements or hire a professional decorator to bring your vision to life.
Defining your wedding style is one of the most fun and personal parts of planning. Once you’ve nailed down your theme and colors, everything else will fall into place. Now it’s time to create your wedding timeline in Step 8!
Step 8: Create a Wedding Timeline
A wedding timeline is your ultimate planning tool. It keeps you on track, ensures every detail is covered, and helps you avoid last-minute stress. By breaking the process into manageable chunks, you can tackle each task with confidence.
Why You Need a Wedding Timeline
- Stay Organized: Avoid the overwhelm of juggling too many details at once.
- Meet Deadlines: Ensure vendors, invitations, and other key elements are completed on time.
- Minimize Stress: With a clear plan, you’ll feel more in control throughout the process.
Suggested Wedding Planning Timeline
Here’s a general timeline for a wedding 12-18 months away. Adjust it to fit your unique schedule:
12+ Months Before
- Set your budget.
- Draft your guest list.
- Choose a wedding date and book your venue.
- Hire key vendors: planner, photographer, entertainment, and caterer.
9-12 Months Before
- Shop for your wedding attire and schedule fittings.
- Research and book additional vendors: florist, baker, and hair/makeup artist.
- Create your wedding website.
- Send save-the-dates.
6-9 Months Before
- Finalize your guest list.
- Plan your ceremony and reception details.
- Start designing your invitations.
- Book accommodations for out-of-town guests.
3-6 Months Before
- Order your wedding bands.
- Schedule menu tastings with your caterer.
- Confirm decor and rental items (e.g., tables, chairs, linens).
- Arrange transportation for the wedding day.
1-3 Months Before
- Send invitations.
- Finalize your timeline with vendors.
- Have your final dress fitting.
- Purchase wedding day accessories.
1 Week Before
- Confirm final headcount with caterer.
- Pack an emergency kit (safety pins, stain remover, etc.).
- Practice your vows!
How to Stay on Track
- Use Tools: Wedding planning apps like Zola or The Knot help you stay organized.
- Delegate Tasks: Enlist your partner, bridal party, or family members to help with specific responsibilities.
- Check In Regularly: Set aside time each week to review your progress and address any outstanding items.
Pro Tips for a Stress-Free Timeline
- Be Flexible: Expect small changes and leave room for adjustments.
- Focus on Big Wins First: Prioritize tasks like booking vendors and securing your venue early.
- Celebrate Milestones: Treat yourself when you check off major tasks—it’s all part of the journey!
Creating a wedding timeline transforms planning into a step-by-step process, making it less overwhelming and much more enjoyable. With your timeline in place, you’re well on your way to the wedding day of your dreams! Up next, let’s talk about creating a wedding website to keep everyone informed in Step 9!
Step 9: Create a Wedding Website
Your wedding website is your digital hub—it keeps your guests informed, organized, and excited for the big day! With everything from event details to RSVP tracking, it’s a must-have for modern weddings. Plus, it’s a great way to showcase your love story.
Why You Need a Wedding Website
- Centralized Information: Guests can easily find all the details, from the venue address to the dress code.
- RSVP Management: Many platforms offer digital RSVP tracking, saving you time and effort.
- Save on Questions: No more fielding countless calls and texts about logistics.
- Eco-Friendly Option: Reduce paper waste by including your website link on invitations.
What to Include on Your Wedding Website
Your Love Story:
- Share how you met, your proposal story, or fun facts about your relationship. It adds a personal touch and gets guests excited for your big day.
Event Details:
- Ceremony and reception times, locations, and addresses.
- A timeline of the day’s events, if possible.
- Maps and directions to make navigating easy for guests.
Accommodations:
- Highlight nearby hotels and group rates you’ve arranged.
- Include transportation options for out-of-town guests.
RSVP Section:
- Allow guests to RSVP online and indicate meal preferences or dietary restrictions.
Registry:
- Link to your wedding registry so guests know exactly what to gift you.
FAQs:
- Address common questions like:
- “Is there parking at the venue?”
- “What should I wear?”
- “Are kids allowed?”
- Address common questions like:
Photo Gallery:
- Share engagement photos or pictures from your relationship to make the website visually engaging.
How to Create Your Website
- Choose a Platform: Popular wedding website builders like Zola, The Knot, or Minted offer user-friendly templates.
- Customize It: Match the design and colors to your wedding theme for a cohesive look.
- Share It: Add the link to your save-the-dates, invitations, and social media pages.
Pro Tips for a Stunning Wedding Website
- Keep It Simple: Avoid overwhelming guests with too much information—stick to the essentials.
- Make It Mobile-Friendly: Ensure the site looks great on phones and tablets, as most guests will access it on mobile devices.
- Update Regularly: Keep the site updated with any changes or additional details as your wedding day approaches.
Your wedding website isn’t just a tool—it’s a reflection of your story as a couple. Once your website is live, you’ll have a handy resource for both you and your guests. With this step complete, you’re one step closer to your perfect wedding day!
Conclusion
You’ve Got This—Your Dream Wedding Awaits!
Planning a wedding may feel overwhelming at first, but by taking it step by step, you’ll turn what feels like a monumental task into a joyful journey. From envisioning your dream day to locking in the perfect venue, assembling your team of vendors, and building your wedding website, you’re well on your way to creating a celebration that reflects your love story.
Remember, it’s not about perfection—it’s about creating a day filled with love, laughter, and unforgettable memories. Don’t forget to take breaks, celebrate small wins, and lean on your partner, family, and friends for support along the way.
Need more help?
Download our free wedding planning checklist to keep everything organized and stress-free. Join our community of engaged couples for expert advice, creative ideas, and support throughout your planning process.
You’ve already taken the first step—congratulations! Now, go enjoy the excitement of planning one of the most special days of your life. Happy wedding planning! 🎉
FAQ: Wedding Planning Questions Answered
1. How far in advance should I start planning my wedding?
It’s best to start planning 12-18 months in advance to secure your preferred venue and vendors. However, if your timeline is shorter, don’t worry! With a focused approach and flexibility, you can still plan an amazing wedding in less time.
2. What’s the first thing I should book?
Start with your venue. It determines your wedding date, guest capacity, and overall style. Once you secure your venue, you can move on to other vendors like photographers and caterers.
3. How do I decide on a wedding budget?
Discuss with your partner and any contributing family members to determine how much you can spend. Research average wedding costs in your area to get a realistic idea, and prioritize what matters most to you.
4. Do I need a wedding planner?
While not essential, a wedding planner can be a game-changer if you’re short on time, feel overwhelmed, or want professional help coordinating details. Many couples opt for a day-of coordinator to ensure everything runs smoothly.
5. How do I handle plus-ones and kids on the guest list?
- Plus-Ones: Consider allowing them for married, engaged, or long-term couples.
- Kids: Decide whether you want a kid-friendly event or an adults-only celebration, and communicate your choice clearly on your invitations and website.
6. What if my dream vendors aren’t available on my date?
Have a few backup options in mind for key vendors. You might also consider adjusting your wedding date or going with a weekday or off-season date to increase availability.
7. How can I save money on my wedding?
- Host your wedding during the off-season or on a weekday.
- DIY certain elements like decor or invitations.
- Limit your guest list to reduce catering and venue costs.
- Opt for a buffet instead of a plated meal.
8. How do I handle family conflicts during planning?
Open communication is key. Set boundaries early, and remember that this is your wedding. Focus on what makes you and your partner happy, and don’t be afraid to delegate tasks to keep the peace.
9. What if unexpected issues arise on the wedding day?
Things happen! That’s why an emergency kit (safety pins, stain remover, snacks, etc.) and a trusted day-of coordinator or point person can make all the difference. Focus on the big picture and enjoy your special day.
10. What’s the best way to stay organized?
Use a wedding planning app or checklist to track tasks, deadlines, and vendor details. Schedule regular planning meetings with your partner and delegate tasks to reduce stress.
If you have more questions or need additional help, feel free to reach out! We’re here to make your wedding planning journey as stress-free and enjoyable as possible. 💍✨

